WebMaxy code Installation guide for Webflow
Follow the below steps to install WebMaxy tracking code on a website built and hosted with Webflow.
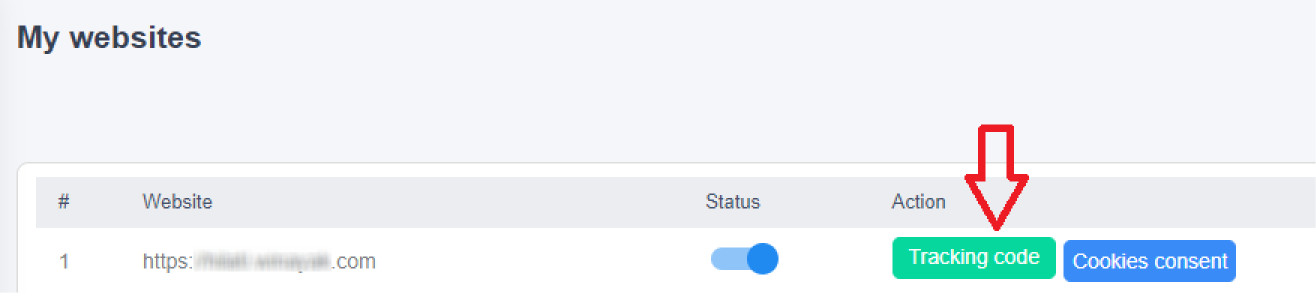
STEP 1: From your WebMaxy account, Go to the My websites page and Click the Tracking Code button.
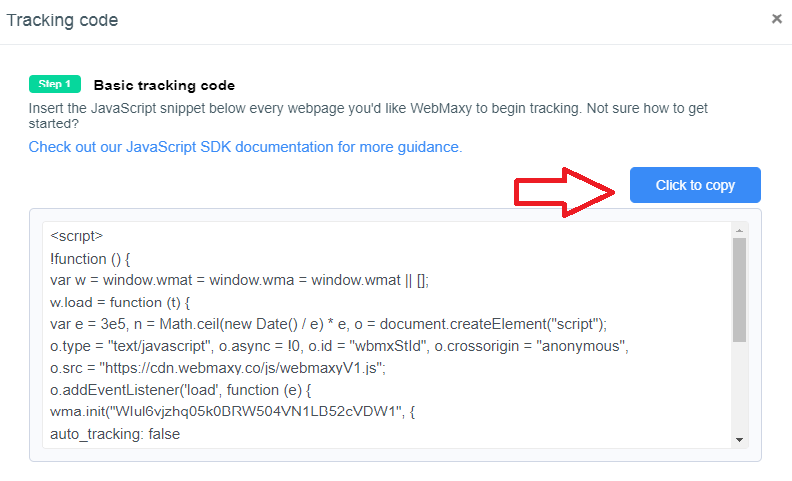
STEP 2: Copy the Tracking code.
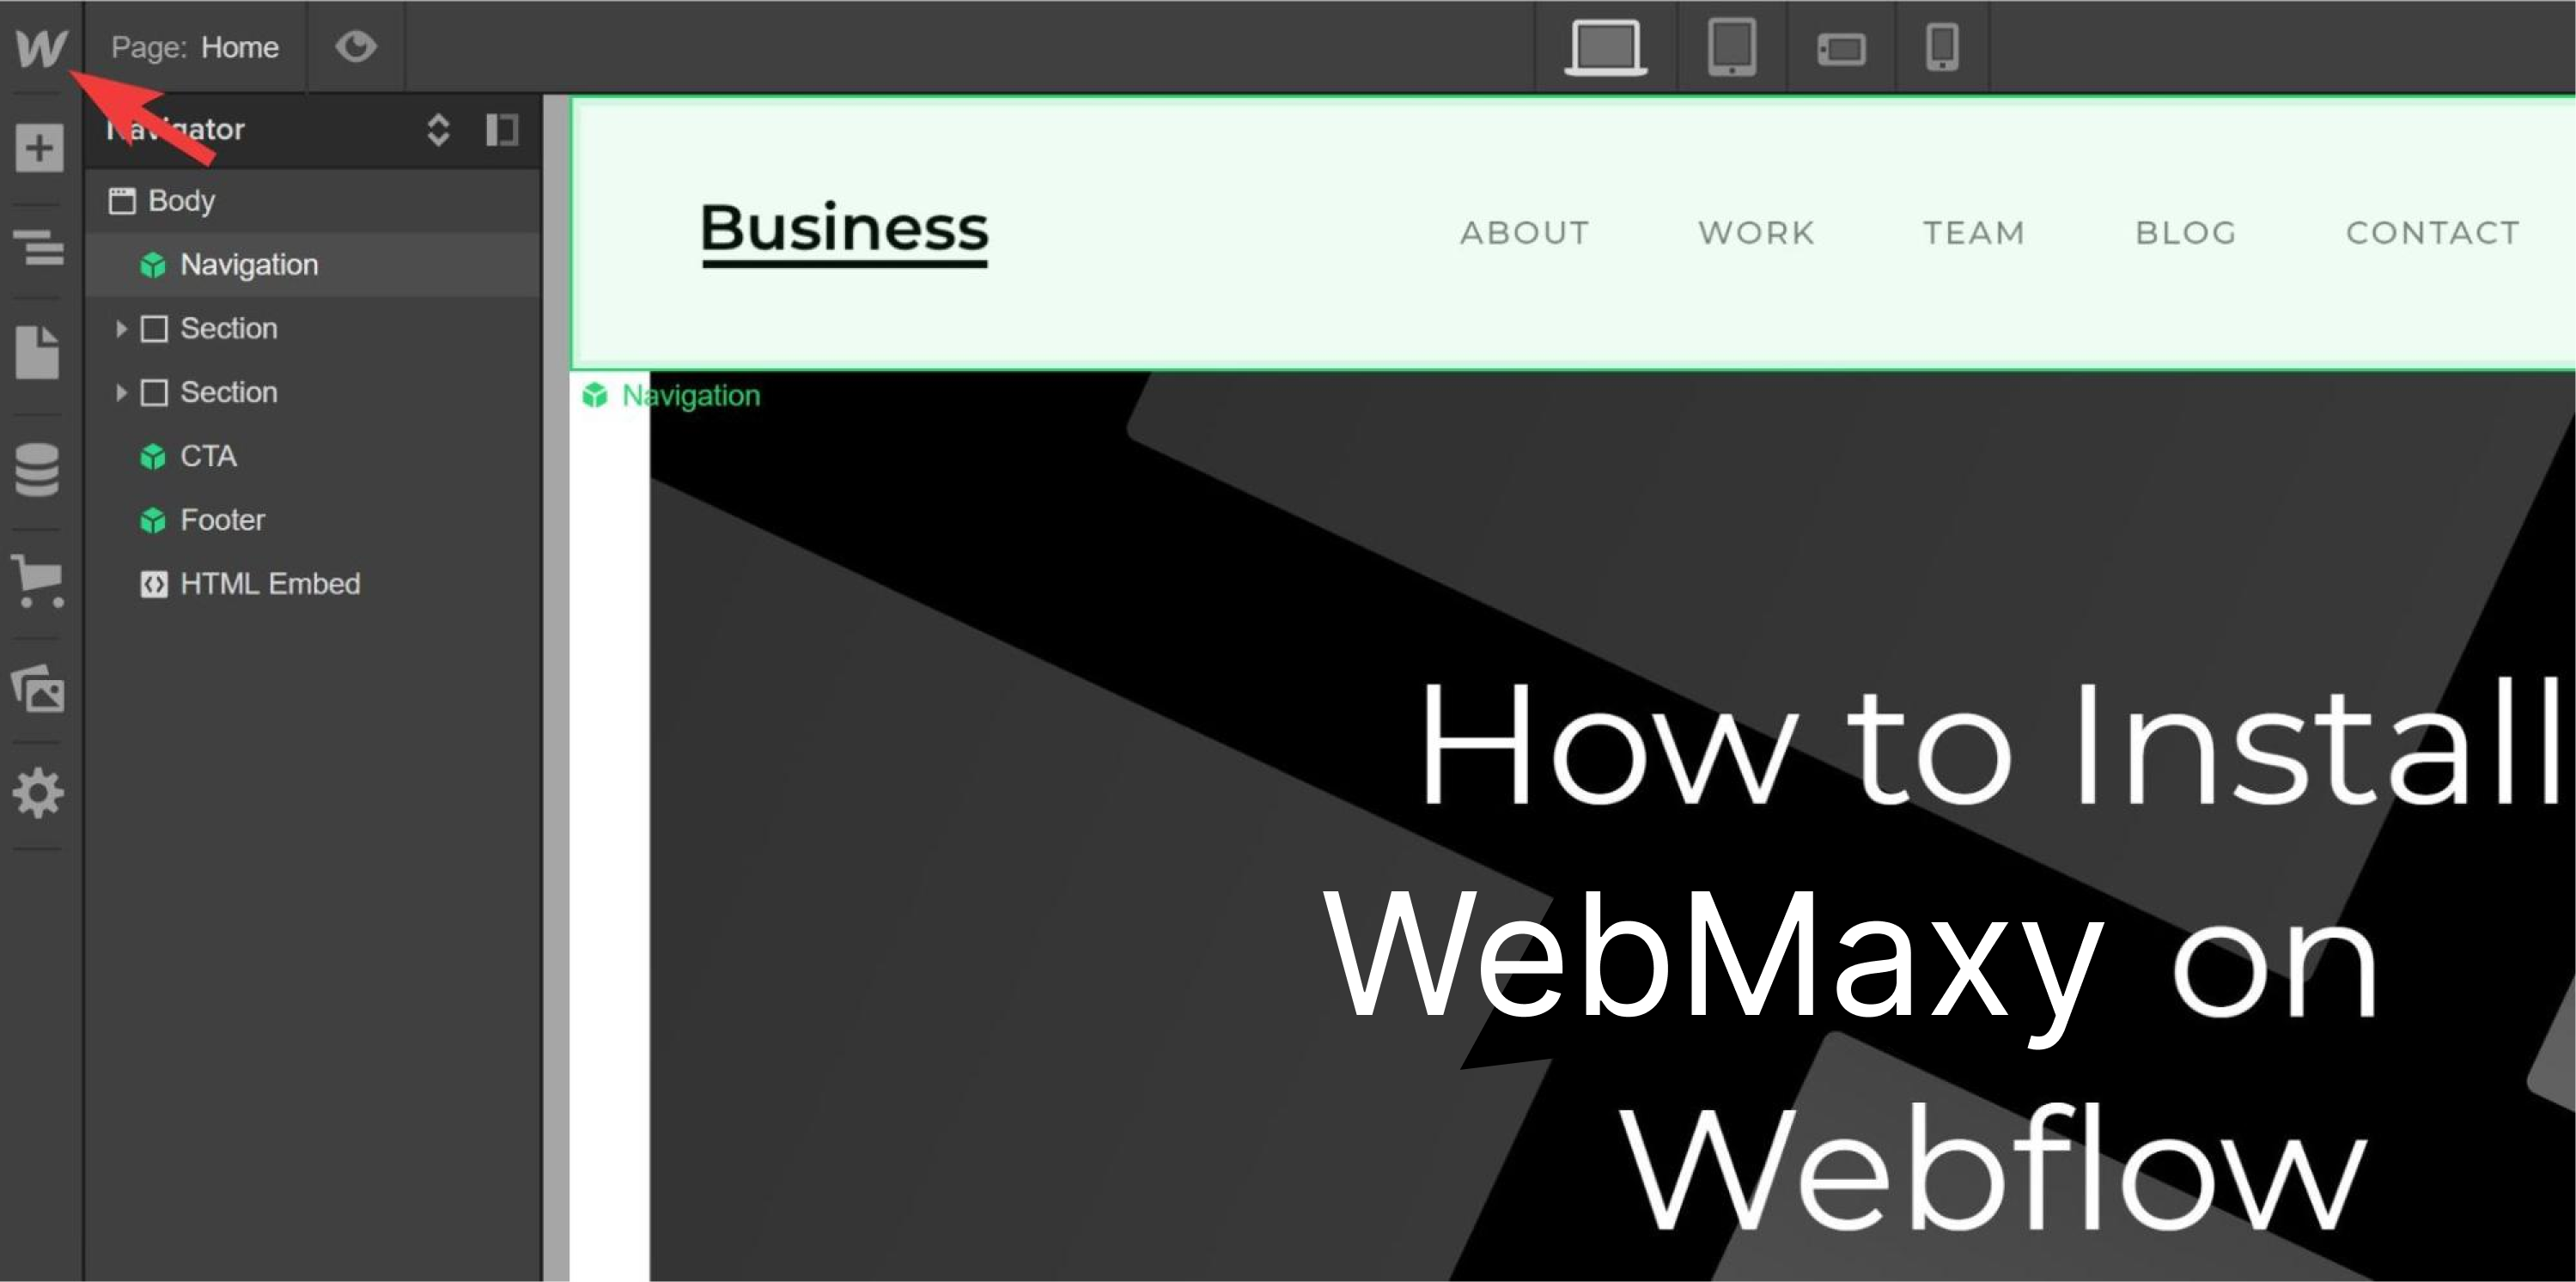
STEP 3: Sign in to Webflow, Go to the dashboard, and click on the Webflow icon present in the top left
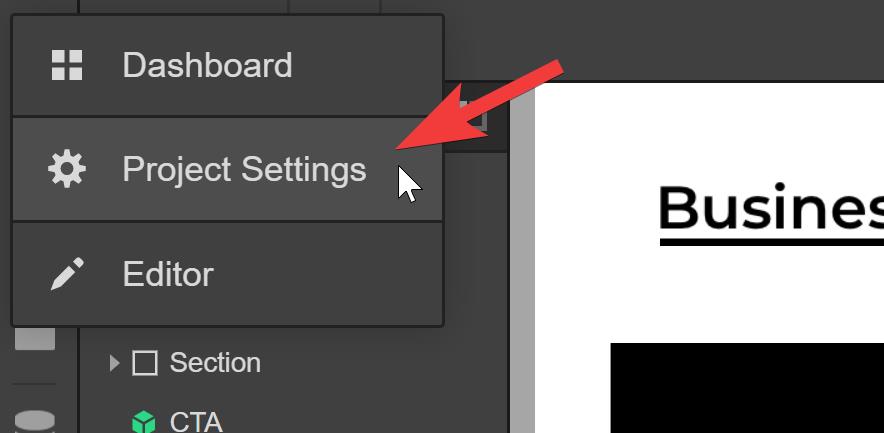
STEP 4: Select Project Settings.
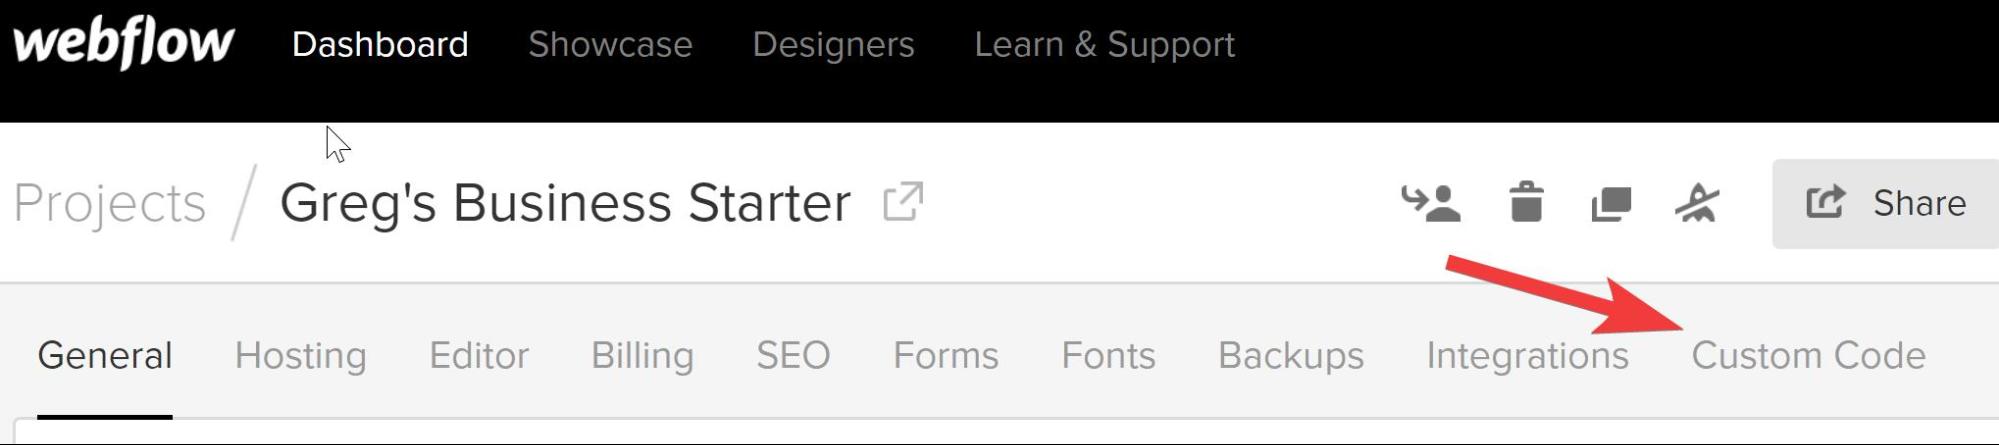
STEP 5: From menus click on Custom Code.
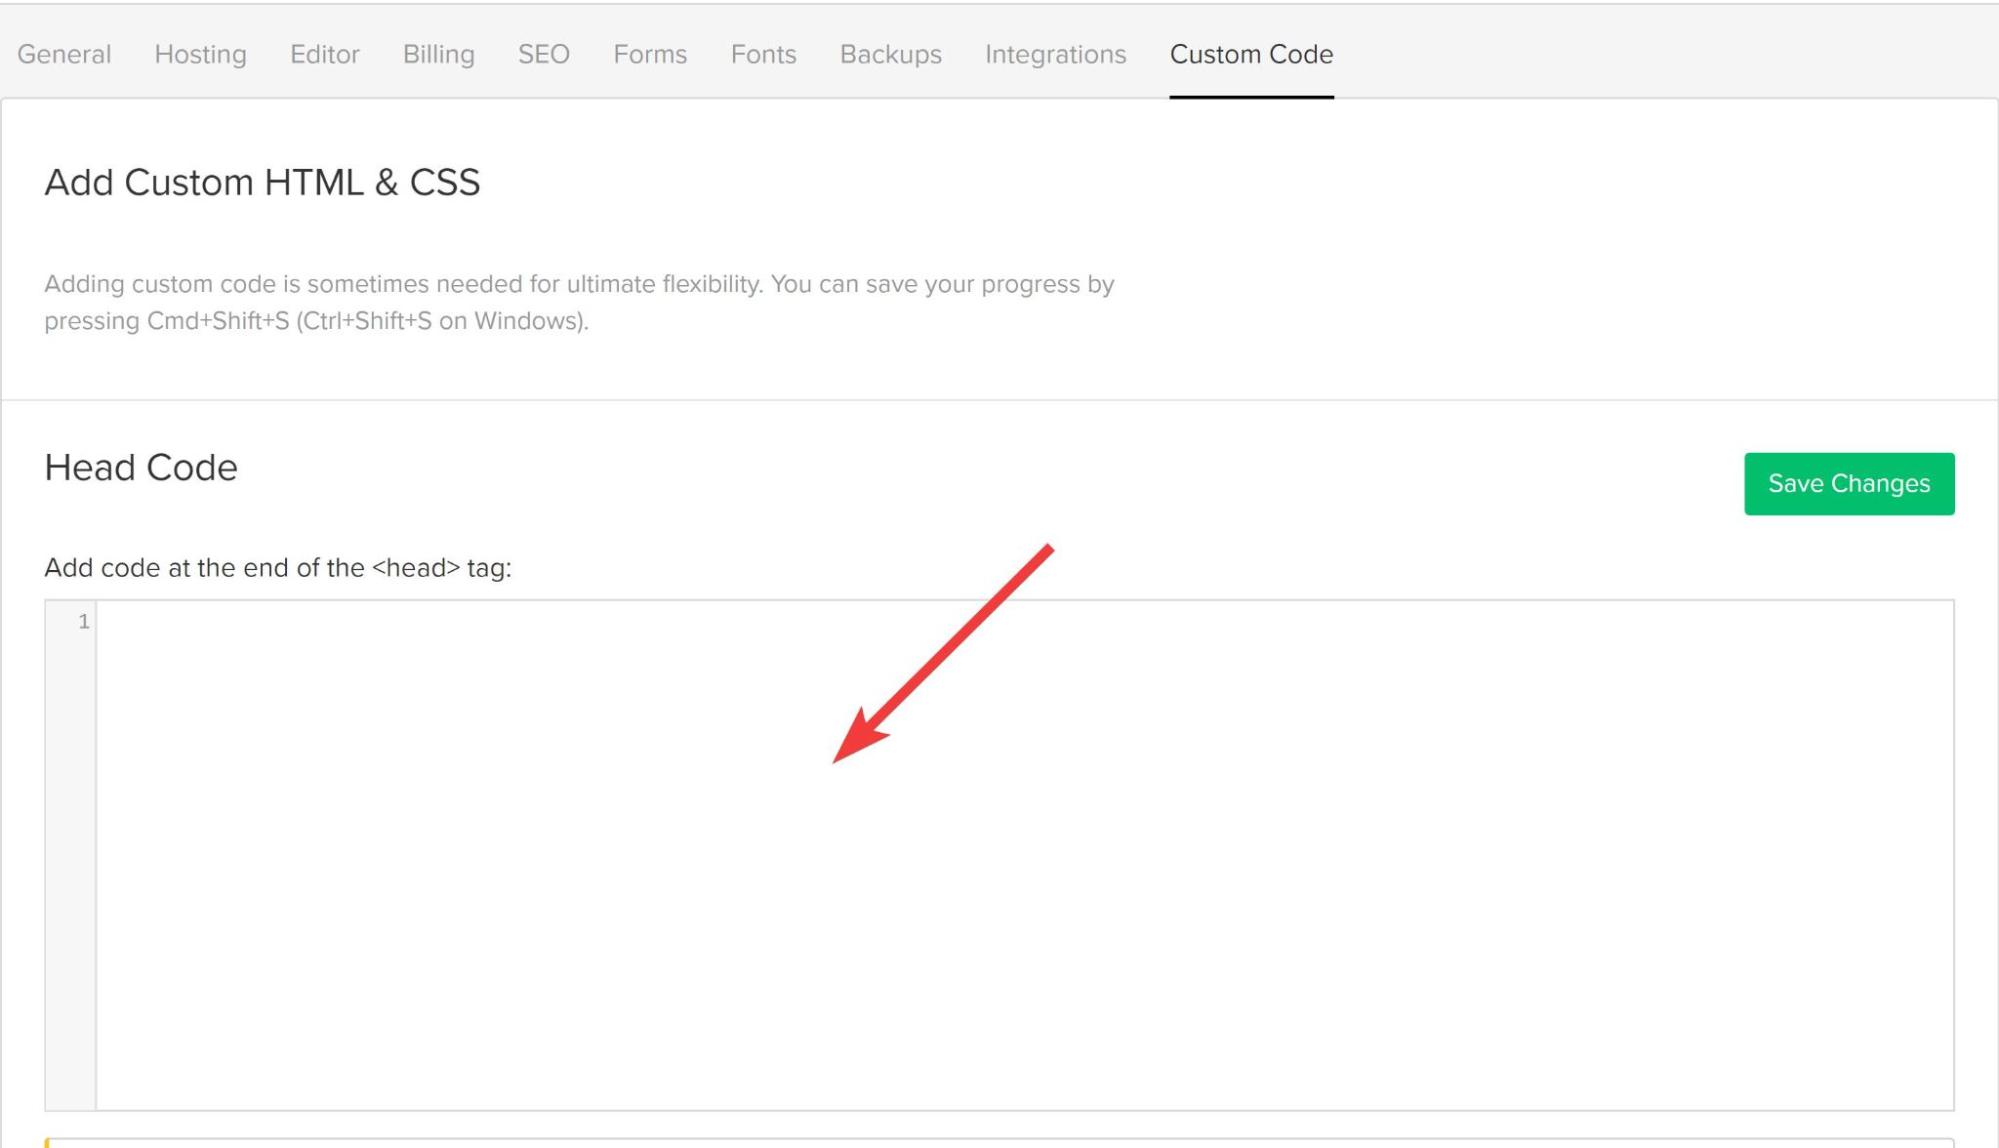
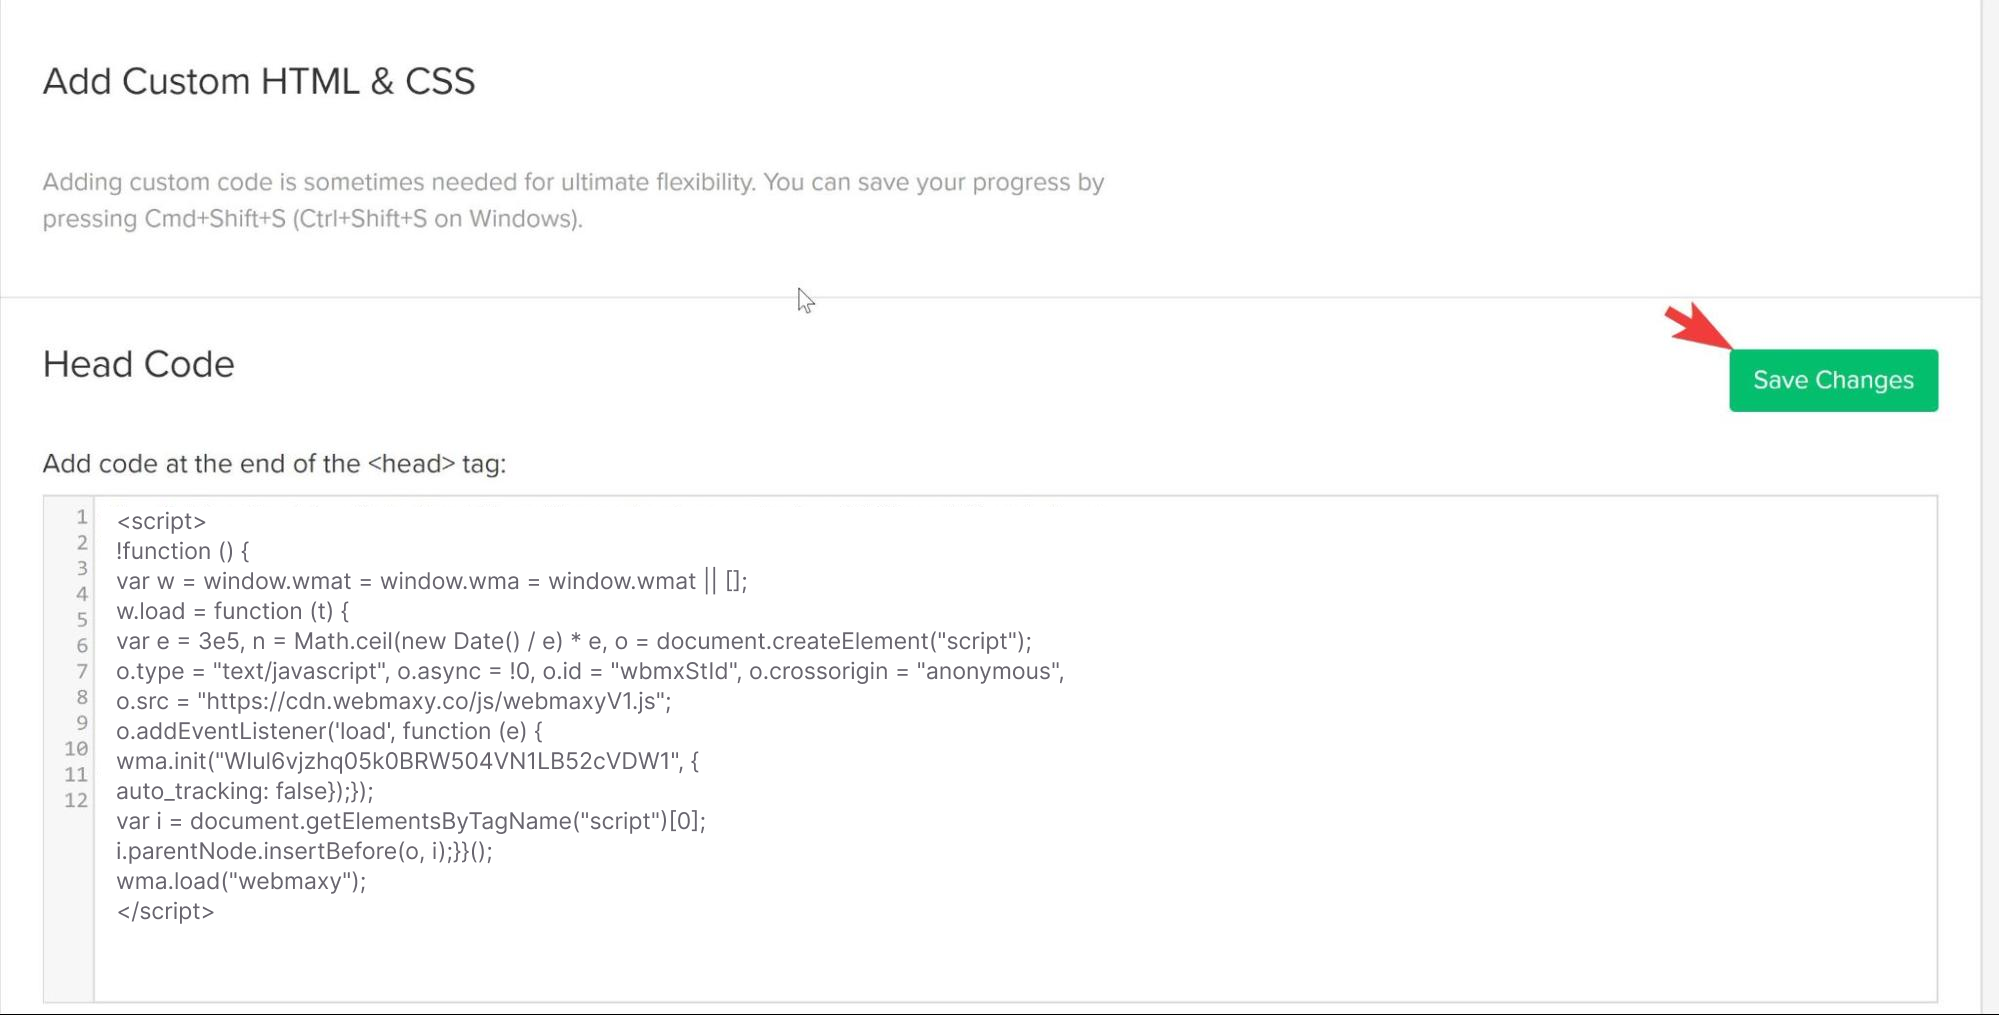
STEP 6: Paste your copied Webmaxy Tracking Code into the Head Code section.
STEP 7: Click the Save Changes button.
STEP 8: From the Project settings page, click Publish.
If Domain selection is asked, we would suggest you select the top-level domain for the website listed in WebMaxy.
STEP 9: Now, click Publish to Selected Domains.

STEP 10: WebMaxy will auto-detect the verification process.
Adam Wilson #
Adam Wilson comes with an experience of 12+ years in the IT industry. As a Customer Success Manager, he has been researching and trying to understand the customers’ behavior in different scenarios. He has also studied human psychology to relate it to the purchase journey of the customers. His published books on customer psychology and behavior have received many honors and awards from various enterprises.