How to create a heatmap for your website (For Free)

Heatmaps are a method of data visualization in which the magnitude of a parameter is shown via color on a two-dimensional plane. A free heatmap tool for websites that let website owners know what works on their website and what doesn’t.
Luckily, with Webmaxy, you can create a heatmap for your website for free in a few minutes!
Create a heatmap for A website in 13 steps
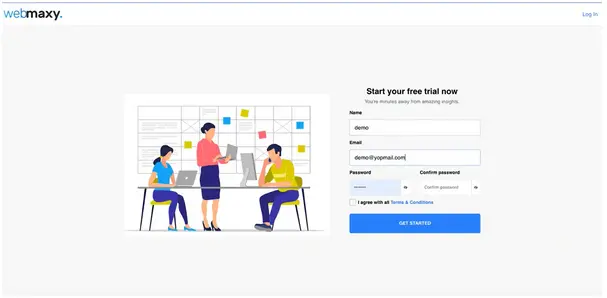
1. Create a free account
Go to Webmaxy’s registration page and sign up with your details.
2. Sign-in to your account through the verification link
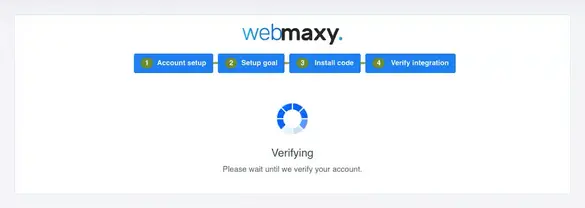
After signing up, you will be redirected to a screen with the following message.

We send it within a few seconds. Take a look in your “Spam” folder, just in case.
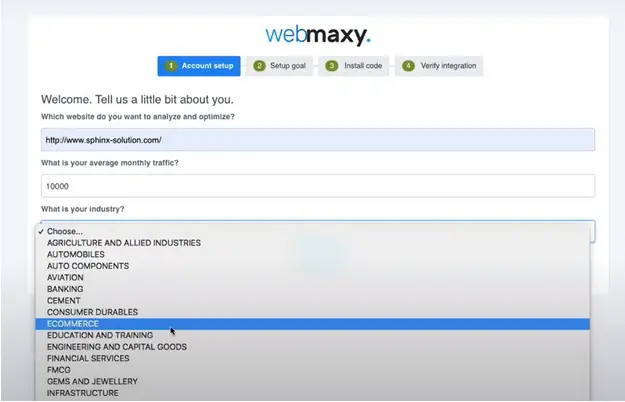
3. Setup your account
After you are in your Webmaxy account, enter your website’s URL, average monthly traffic, and the industry you are in. This is the first of the four steps of your onboarding.
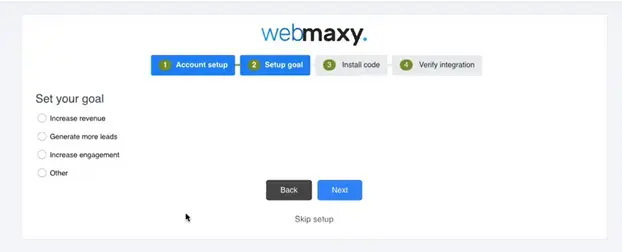
4. Select Your Goal
As a business owner, there must be something that you want. Choose any of the four goals. This will help Webmaxy in creating dashboards that will help you achieve them.
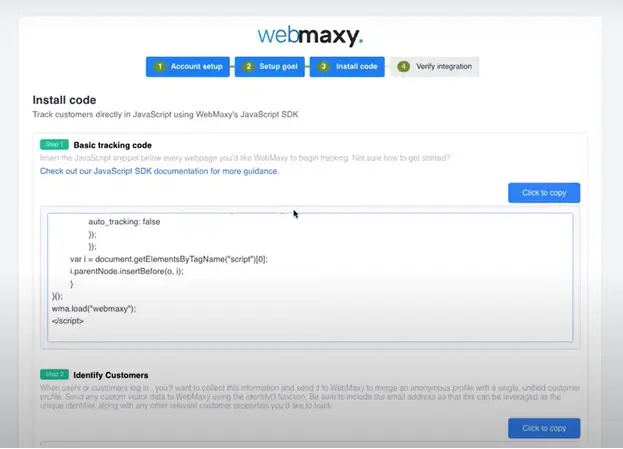
5. Install Code On Your Website
The third step of the onboarding process involves you pasting a JavaScript (JS) code on your website. This JS code sends relevant data to Webmaxy which will create your heatmap.
6. Create Custom Events That You Want To Track
Custom events help you record audience behavior specific to a campaign. For instance, you have a video on the page and wish to know how many visitors watch it and how many just play it and switch to a different tab.

If you don’t have any custom events in mind at the moment, you can skip it for now and click on “Next”.
7. Wait For Verification
All is done. Now, all you need to do is wait until Webmaxy verifies the code installed on your website.
If the code is not pasted properly or due to some other error your verification gets failed, you will see the following message.

Give it a few seconds and click on “Retry”, if you have followed all the steps till now correctly.
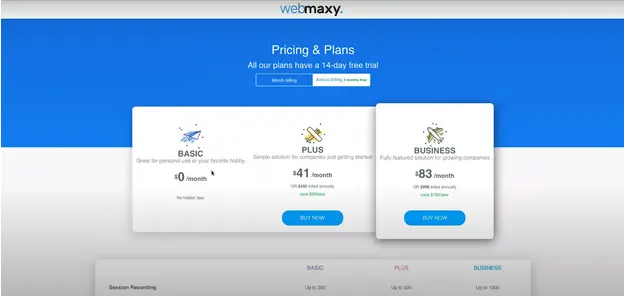
8. Choose A Pricing Plan
After your verification is completed, you will be sent to a page where you can choose a plan based on your requirements. You can stick with the Basic plan or choose the Plus or Business plan, as Webmaxy provides a free 14-day trial for the latter plans.
9. Welcome to Webmaxy
After you choose any pricing plan, you will be redirected to the homepage. It will contain a few auto-generated dashboards.

10. Website Analysis Tools On The Left-Side Menu Bar
Here you will find all the features of Webmaxy. Click on “Analyze” which will open a dropdown showing all the website analysis tools. Click on the “Heatmap” option on the left hand side menu bar.
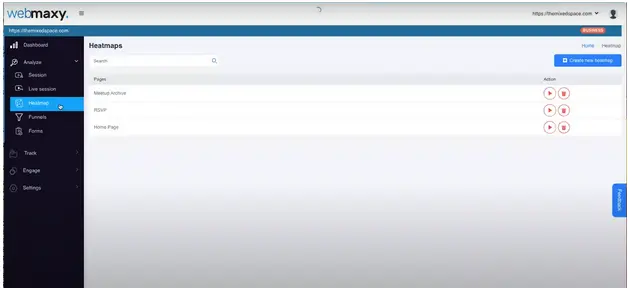
11. Create A Heatmap
Click on “Create new heatmap” on the top right corner of the screen. You will be taken to a page that looks like this.
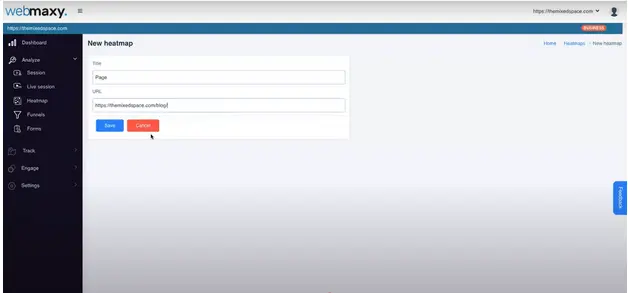
Enter a title for the page you want to create a heatmap for. It doesn’t need to be the same as the title of the page. Paste the URL in the corresponding field and click “Save”. Then, you will be redirected to the following page.
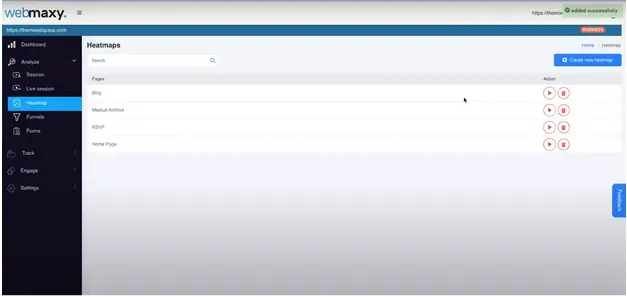
Note the “added successfully” message on the top right corner of the screen. If you don’t get that message, wait for a few seconds and refresh your screen.
12. Exploring The Heatmap
Now, in order to view the heatmap that you have just created, click on the play button in front of the corresponding page title. You will be redirected to a new page where you will see something similar to the image below.

Here are the different elements of the page that will help you get better insights about your website.
- On the top right corner, you can set the date range for which you are interested in seeing the visitor’s behavior. This is extremely helpful when measuring the impact of a campaign you recently ran, for instance.
- By using the dropdown at the top-center of the free heatmap creator, you can get the audience behavior details for your website for different devices.
- This free heatmap tool for websites has summarized the traffic details on the top-left corner which will help you understand how your page is doing in a glance.
- You can use the “Share” button present at the bottom-left corner of the heatmapper to send the details to your team.
- At the bottom-center, you can toggle between the heatmap and the scrollmap. The heatmap shows you the number of clicks and the scrollmap shows how long your visitors stay at a particular section of your page.
13. Exploring The Scrollmap
The free heatmap creator by Webmaxy also collects scroll data of your audience. The scrollmap helps you understand which sections in a particular page of your website are most attractive to your target audience.
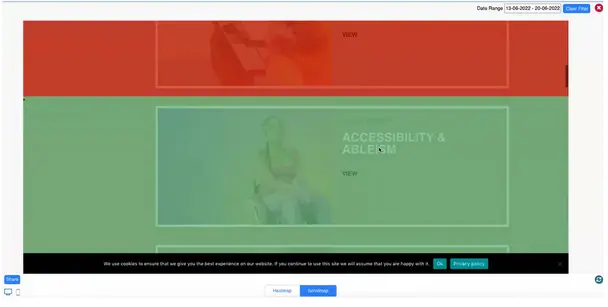
The section shown in red gets the most attraction as compared to the section in green. As you scroll through the page, you will find different sections of a page colored differently as per the behavior of your target audience.
Use the desktop and mobile icon provided on the bottom-left of the screen of the heatmapper to see the scrollmap for different devices.
The visitor’s data collected from these heatmaps will help you understand which content works, which sections of your website are attractive, and where you need to improve. On top of being free, it gives you data quickly facilitating hyper-growth for your business.
Sign up on Webmaxy and create a heatmap for your website for free.

FAQ’s
You can create a heatmap for your website by following these simple steps:
Step 1: Create a WebMaxy Analyzer account.
Step 2: Set up your account.
Step 3: You’ll see the Website Analysis tools on the left side menu bar.
Step 4: Click on the ‘Heatmap’ option in the ‘Analyze.’
Step 5: Create a heatmap by adding the URL and a title to it.
First, choose the right heat mapping tool like WebMaxy Analyzer for your website. Add the given code to your website. Once that’s done, you need to add the URLs of the web pages for which you want heatmaps for in the ‘Heatmap’ option in WebMaxy Analyzer. By clicking on the ‘view’ option, you can view the heatmap for that specific web page.
Gutentor Simple Text
Gutentor Simple Text
Yes, Google has a heat map tool called Page Analytics. It is a chrome browser extension that you need to install. Once that’s done, it starts displaying where and what elements your users have clicked on your website.
Yes, heatmaps can help you increase your conversion rate. Heatmaps are graphical representations of where the users have clicked or the area till where they have scrolled. From heatmaps, you can know how users interact and engage with your website and make changes accordingly.
Scroll maps indicate the area till where the maximum number of users have scrolled down on the webpage. Click maps show the areas where the users have clicked on the webpage. These heatmaps are color-coded to specify the users’ engagement.
Adam Wilson
Adam Wilson comes with an experience of 12+ years in the IT industry. As a Customer Success Manager, he has been researching and trying to understand the customers’ behavior in different scenarios. He has also studied human psychology to relate it to the purchase journey of the customers. His published books on customer psychology and behavior have received many honors and awards from various enterprises.
")


